How Are Window Sill Leakage Works Done? A Complete Guide to Source Diagnosis, Repair Option Comparison and Acceptance Standards
After a heavy rainstorm, water marks seep from the edge of the window sill and stains appear on the floor — many owners' first reaction is to buy a tube of silicone sealant and "patch it up", only for the leak to return a few weeks later. The reason is simple: without finding the source, any amount of surface patching is wasted effort. This article explains how window sill leakage works should be done, covering source diagnosis, repair option comparison, the works process and final acceptance.
Causes of Window Sill Leakage: How to Find the True Source?
The success of window sill leakage works depends most on the first step — source diagnosis. There are four common leakage paths:
A professional technician will rule these out one by one using visual checks and water tests, confirming the leakage path before deciding on a repair option. For a detailed explanation of each cause, see our Complete Guide to Window Sill Waterproofing Works.
Comparing Three Repair Options: Re-sealing, Redoing Waterproofing or Window Replacement?
Once the source is confirmed, the next step is choosing a repair option. Each of the three options suits different situations — more expensive does not mean better:
| Option | When it applies | Budget reference | Durability |
|---|---|---|---|
| Re-sealing (localised) | Localised cracks in silicone joints; frame in good condition | From a few hundred dollars | Depends on workmanship |
| Redoing waterproofing (full window perimeter) | Widespread silicone failure plus hardened, shrunken sealant strips | From $250 (Four Treasures works) | More assured with warranty coverage |
| Full aluminium window replacement | Deformed frame; leakage path inside the frame structure | From $2,000 | Most thorough; must comply with Class II minor works submission |
Note: if the leak source is in the external wall rather than the window edge, waterproofing the frame alone will not solve the problem, and the sequence of works also matters. For the principles and methods of window waterproofing itself, see our Complete Guide to Aluminium Window Waterproofing Works.
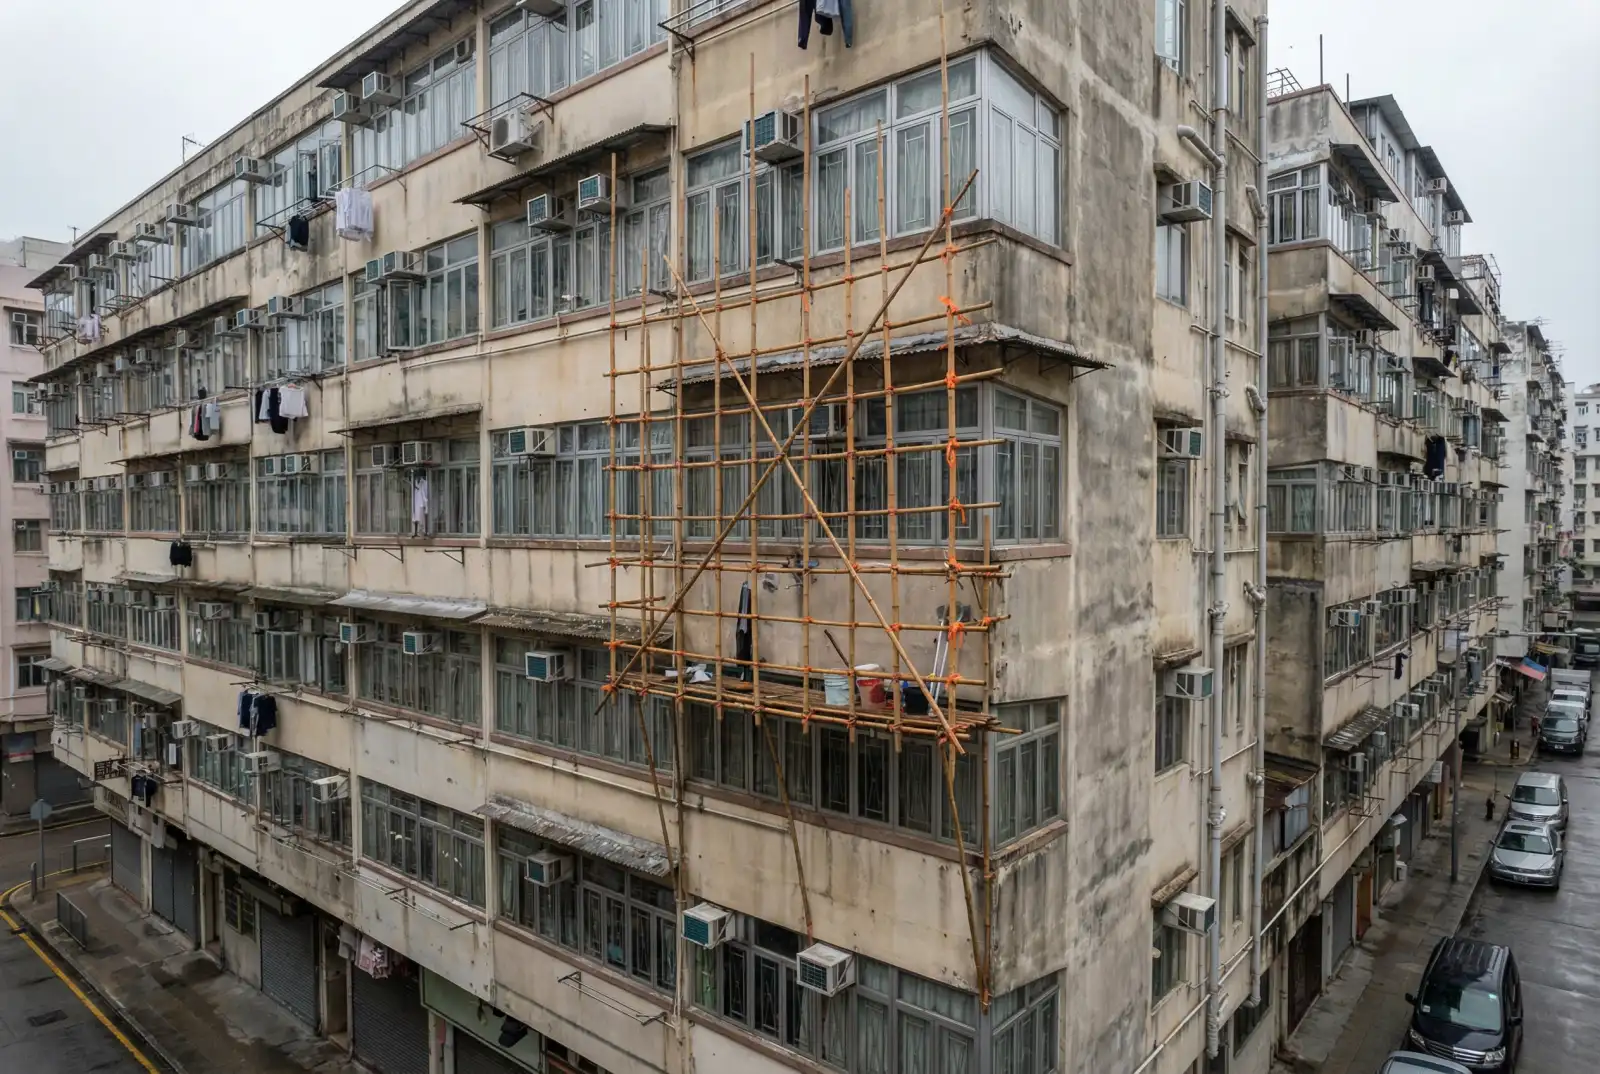
The Window Sill Leakage Works Process: 6 Steps from Quotation to Completion
A properly run window sill leakage works project generally follows this process:
The whole works typically take half a day to one day, with even less disruption for units that require no scaffolding. Base surface cleaning (step 3) is the easiest corner to cut — if old sealant is not fully removed, the adhesion of new silicone is severely compromised.
3 Acceptance Standards on Completion: How Do You Know the Works Were Done Well?
After the works are completed, owners can check against these three acceptance standards:
If a technician is unwilling to perform a water test after completion, or only offers a verbal warranty promise, owners should be on alert.
A Real-Life Scenario: A Tseung Kwan O Owner's Rainy-Season Leak Repair Experience
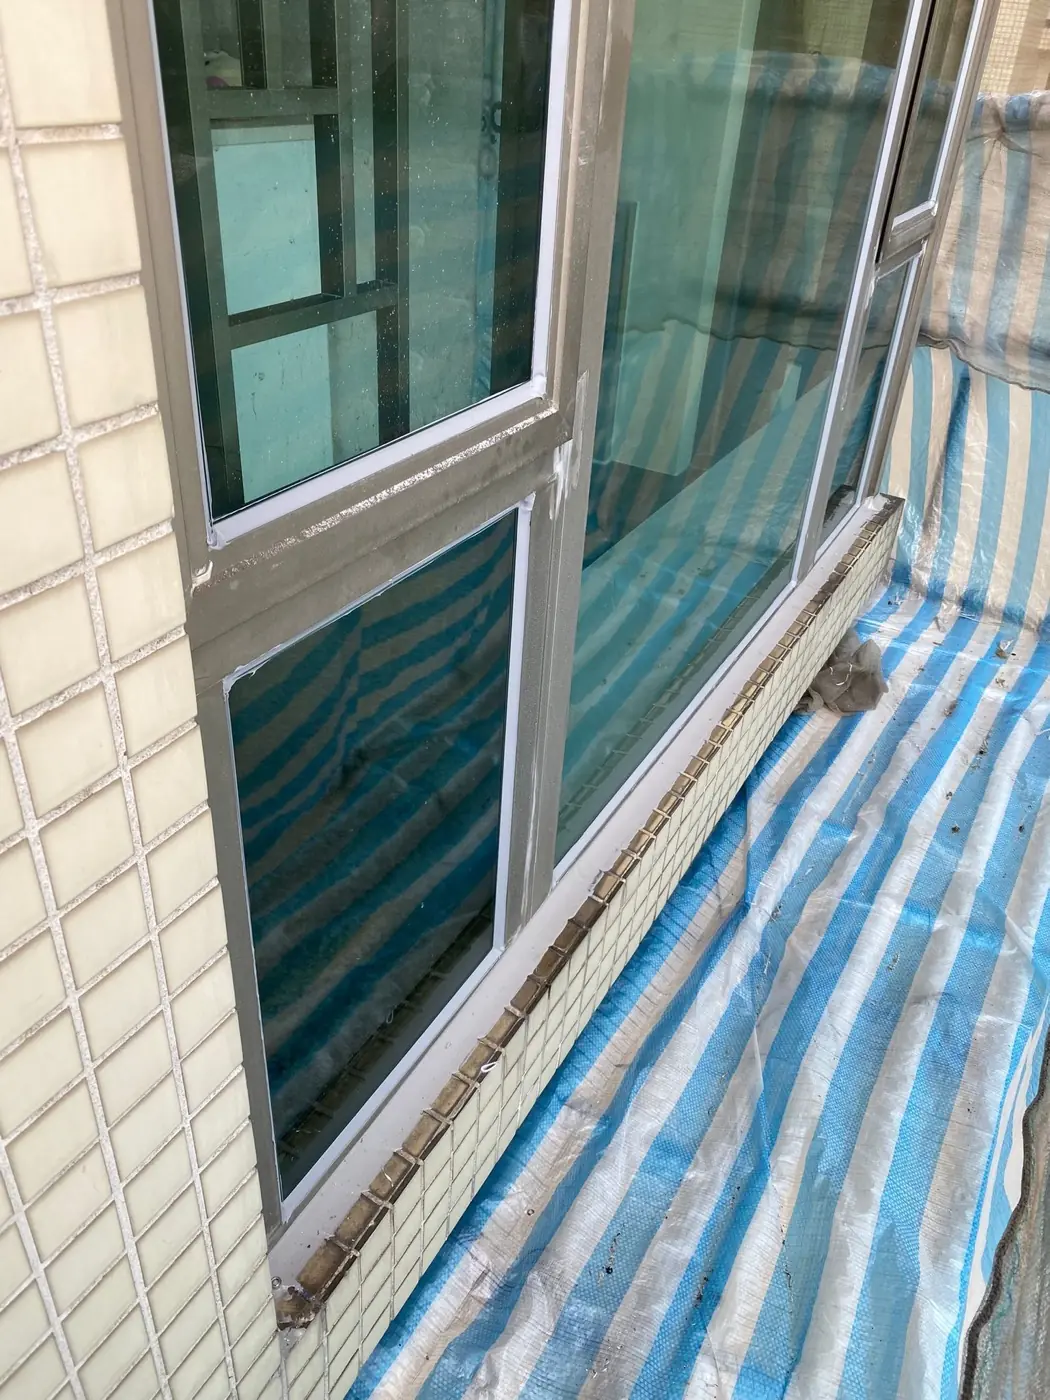
Mrs Wong lives in a seafront estate in Tseung Kwan O. Whenever typhoons brought heavy rain, her master bedroom window sill seeped water. She twice bought silicone sealant and patched along the window edge herself, but the problem returned after one rainy season. During the on-site inspection, the technician found two issues: the silicone along the bottom of the frame had extensively dissolved, and the drainage holes were completely blocked with accumulated dust — surface patching alone had never addressed these two sources.
On the day of the works, the technician first removed all the failed old sealant, replaced the shrunken silicone rubber sealant strips, cleared the drainage holes and re-applied fresh silicone, finishing with a 15-minute water test to confirm no seepage — all completed in about half a day. Through the following two typhoon seasons, no water marks ever appeared on Mrs Wong's window sill again. This scenario shows that the value of window sill leakage works lies in accurate diagnosis and thorough treatment — not in how much sealant is applied.
Frequently Asked Questions
Does window sill leakage always require replacing the whole window?
Not necessarily. If the frame structure is intact and the leak source lies in the silicone joints, sealant strips or drainage holes, redoing the waterproofing is sufficient — and far cheaper. Only when the frame itself is deformed, or the seepage path runs inside the frame structure, should replacement be considered; such works must be carried out by a Registered Minor Works Contractor (such as Amgen Aluminium Windows, MWC 316/2021) and comply with Class II minor works submission.
How are window sill leakage works charged?
Fees mainly depend on the leakage extent, the number of windows and the floor level. Market references: localised re-sealing starts from a few hundred dollars; the Four Treasures works — covering safety fittings, internal and external sealant strips and silicone waterproofing — start from $250; complete renovation works including whole-flat waterproofing start from $2,000, with a 3-year warranty. Always request an itemised quotation to avoid surcharges afterwards.
It's not raining now and nothing is leaking — can I leave it for later?
Delaying is not advisable. Moisture that has penetrated the wall continues to damage plaster and paint, forming mould patches, and the repair cost only grows over time; during the typhoon season (May to November each year), technicians' schedules are at their tightest and emergency repair options are limited. The safest approach is to arrange an inspection early in the dry season — prepare before the rain comes.
Conclusion: Accurate Diagnosis Is the Core of Any Leakage Works
Whether window sill leakage works prove thorough depends ninety percent on whether the true source was found — sealing is merely the means; diagnosis is the core. Choose a contractor that offers water tests, itemised quotations and written warranties, and solve the problem once — far better than worrying every rainy season.
Amgen Aluminium Windows is a Registered Minor Works Contractor with the Buildings Department (MWC 316/2021), providing one-stop waterproofing services covering source diagnosis, waterproofing renewal and water-test acceptance from start to finish, with a 3-year warranty on complete renovation works. WhatsApp 6586 3435 for a free enquiry, or book a free on-site inspection.
Contact Us Today
Book a free on-site window inspection and quotation — Licensed Contractor MWC 316/2021